1943 MB (picture heavy)

Create a thread to track the progress of you MB/GPW restoration progress. Previously a General Discussion board.
minkforce1
G-Sergeant
G-Sergeant
Posts: 37
Joined: Fri Mar 03, 2017 6:18 am
Location:

1943 MB (picture heavy)

Post by minkforce1 » Sat Mar 04, 2017 6:08 am

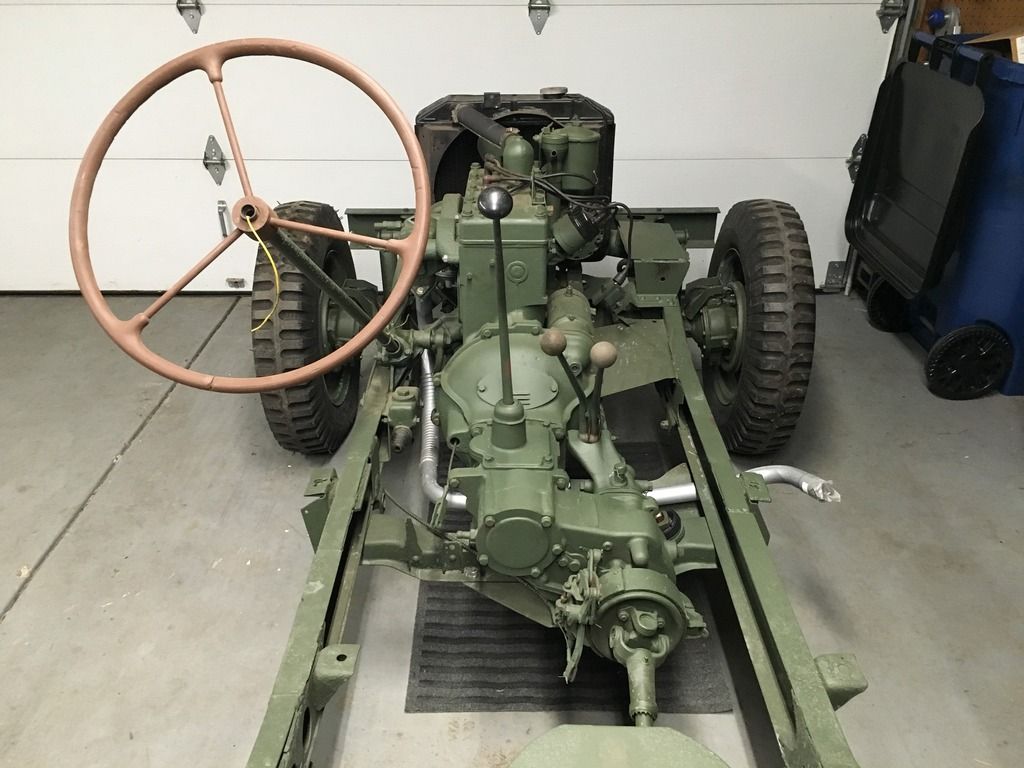
About a year ago, my friend and I drove 26 hours straight to pick up what was advertised as a running, rolling 1943 MB frame with new brakes and a paint job. It did roll, we did get it to run, and the brakes looked good, but paint covers a multitude of sins, we learned. I've relied heavily on the expertise and resources from this board but never posted my own until now, mostly trying to avoid coming here right away to ask a question that has definitely been asked before. While we wait for the weather to break here in Michigan so we can paint, I figured it's time to post my first restoration. More mistakes and work arounds that I had hoped for, but my only automotive experience prior to this was a go kart built in 8th grade. Thankfully friends with a machine shop and automotive supply store came to the rescue for many problems.

Delivery Date: March 22, 1943

Pickup Date: March 19, 2016
Image

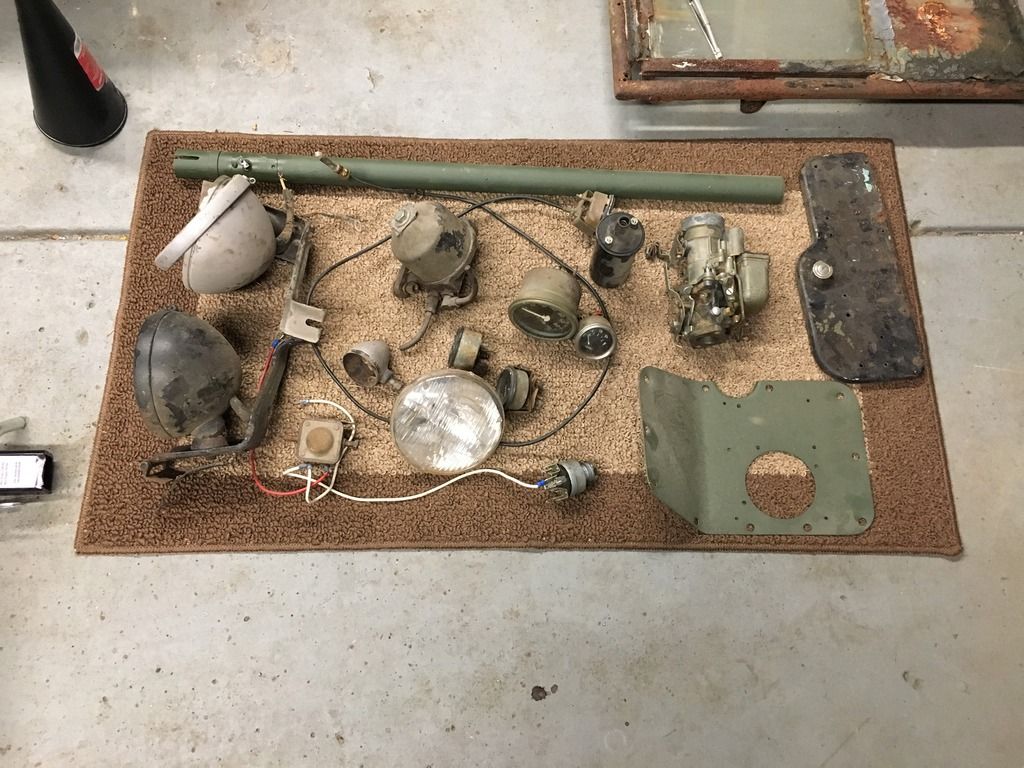
Bucket o' parts
Image

Paint Job
Image


minkforce1
G-Sergeant
G-Sergeant
Posts: 37
Joined: Fri Mar 03, 2017 6:18 am
Location:

Re: 1943 MB (picture heavy)

Post by minkforce1 » Sat Mar 04, 2017 6:24 am

Once we safely retrieved the Jeep, I had to start actually learning about it. To start, the radiator was actually off a GPW, they had started a 12v conversion with a new starter and coil, and a new exhaust system had been bolted to the manifold. The manifold was also the first thing that was visibly broken, even without knowing how it worked. Later, I started to learn the difference between an 'original' part and an 'old' part, and that the previous owners at some point had done some fairly unspeakable things to the Jeep in the name of just making it work.

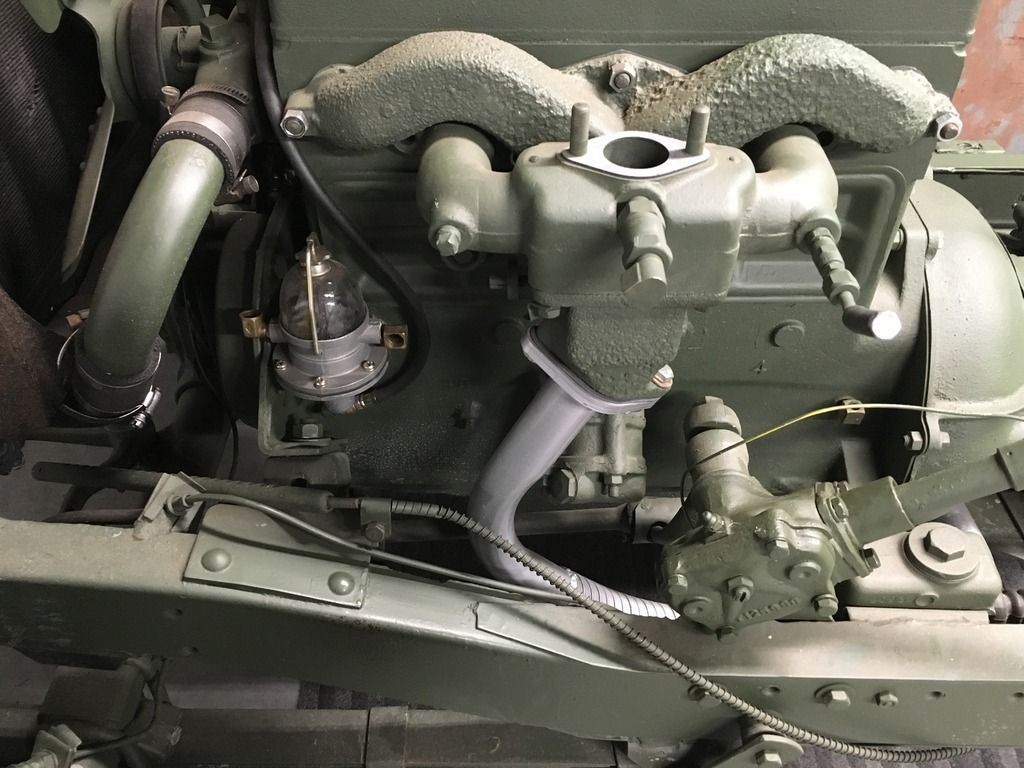
Old manifold
Image
The heat control valve arm was completely seized up, and had been sprayed with enough paint to make it look nice again. We had a sneaking suspicion that the POs had just hosed the entire frame down to hide some problems a more savvy buyer would have seen anyways, but worked on us.

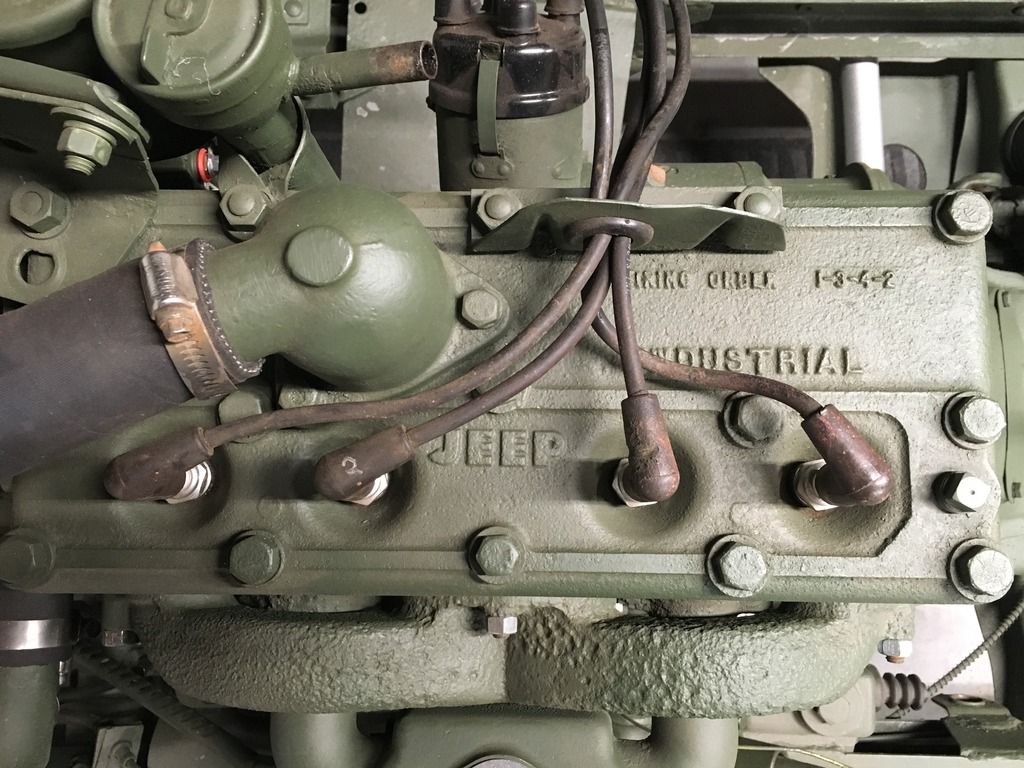
Old head
Image
I was also able to ascertain that this was not the original head by deciphering the complex lettering on top. 'Jeep' did not exist in 1943.

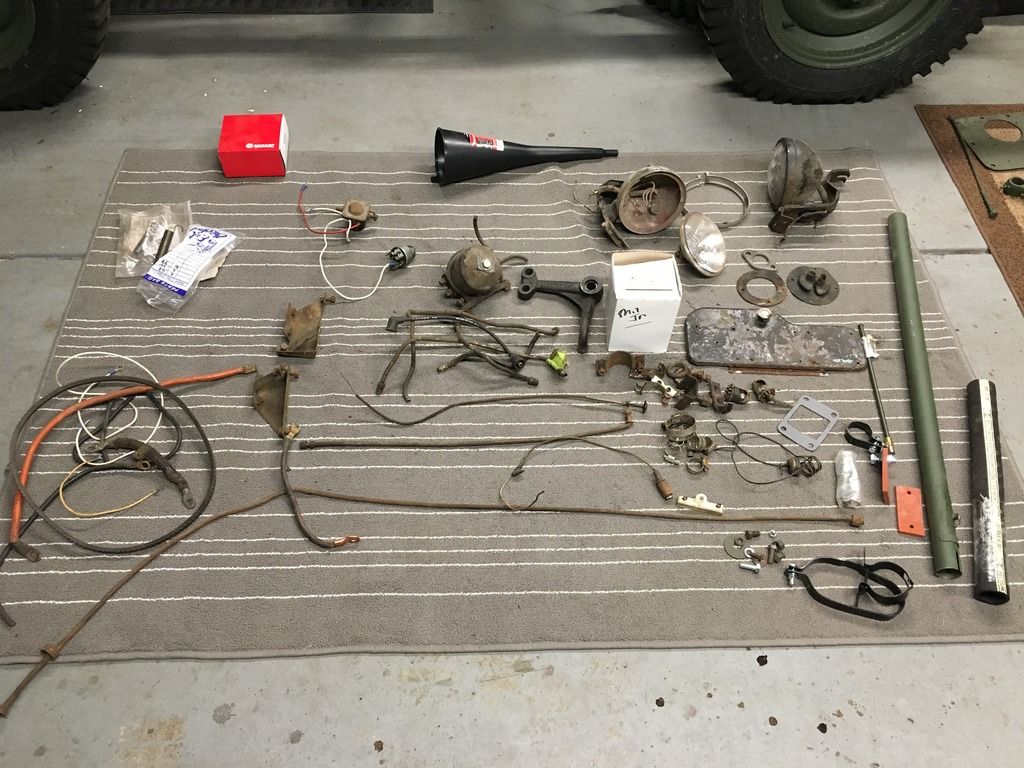
Another bucket o' parts
Image
I should have cleaned and salvaged some of the little parts but most were in such bad shape that I figured new parts would be preferable. I held on to the air filter brackets until new ones came in, junked the wiring, and sincerely regret throwing away the windshield hold down brass hooks, since I'm now short one at the end of the project.

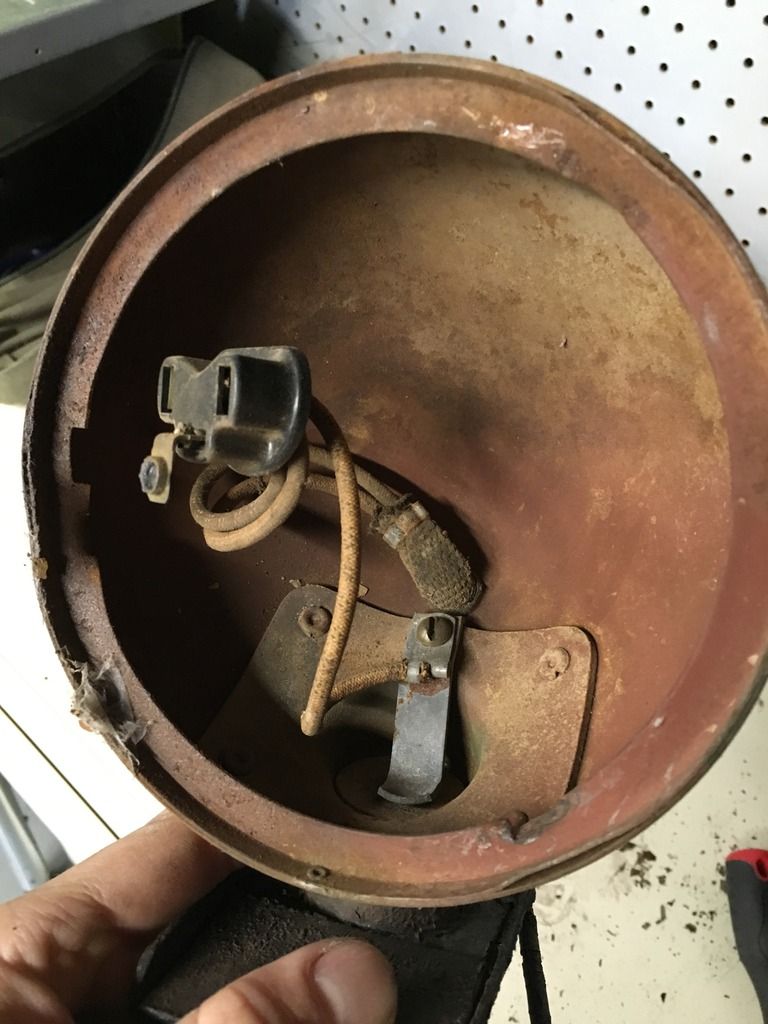
Old or original headlights
Image
Covered in a couple layers of paint, we had these bead blasted, patched and restored along with the arms.

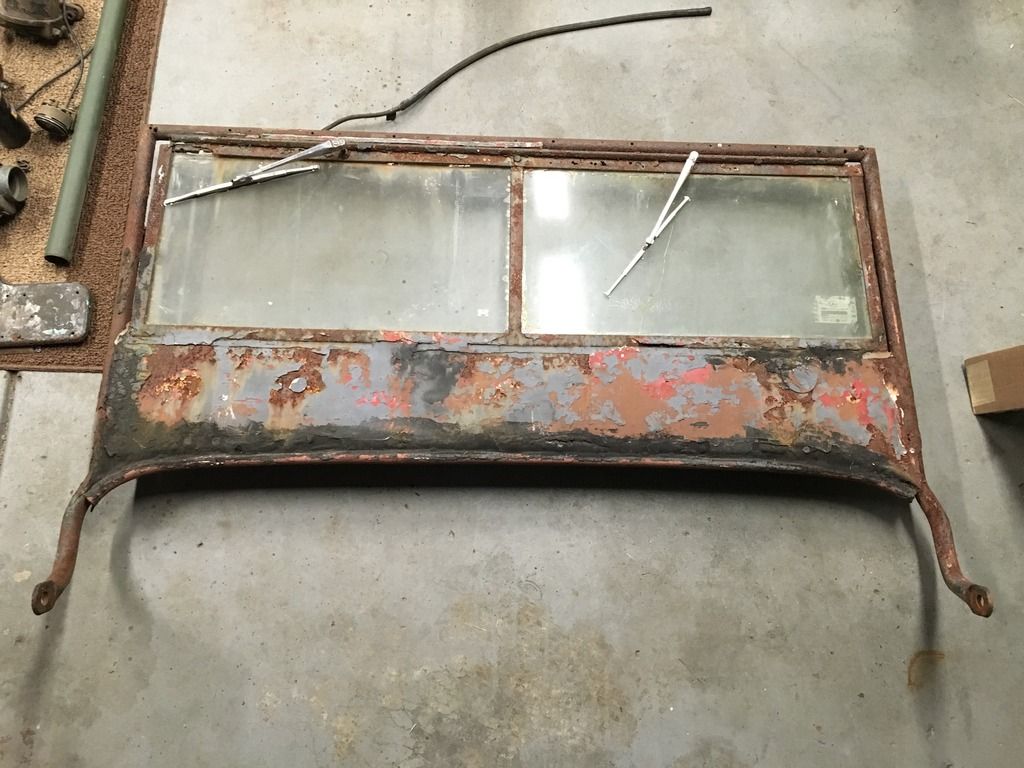
Original windshield
Image
I ended up selling the original windshield once I learned that the reproduction body would come with one. If I had better metal working skills it was probably more than salvageable with some replacement glass and welding, but someone needed it more than myself.

minkforce1
G-Sergeant
G-Sergeant
Posts: 37
Joined: Fri Mar 03, 2017 6:18 am
Location:

Re: 1943 MB (picture heavy)

Post by minkforce1 » Sat Mar 04, 2017 6:35 am

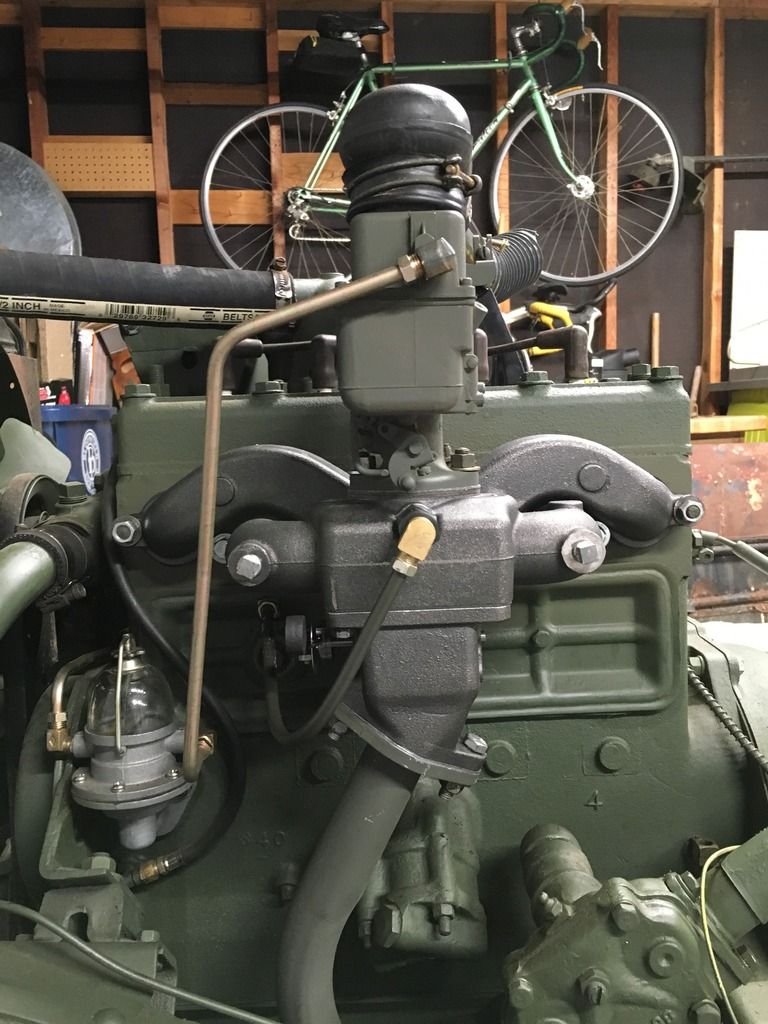
I'm really good at bolting and unbolting parts, so after some research we decided to replace the entire manifold. Popped off the carburetor and gaskets and installed the new ones with a new manifold, PCV valve and heat control valve. The fuel lines were connected...prematurely. As was the paint on the carburetor (why, why did I do that) and the exhaust pipe.
Image

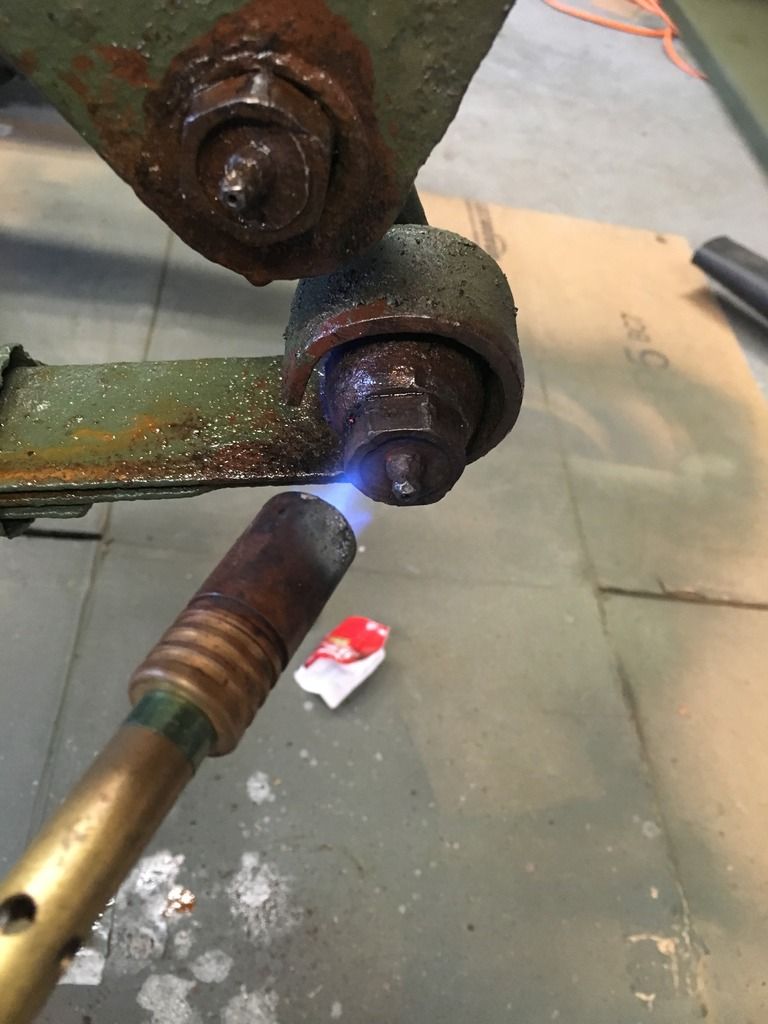
The PO's had mentioned the 'original' springs and shackles may need some work. 'Some work' turned into a week of working them off with heat, PB blaster, and a disk grinder. The perches were also in bad shape as we discovered a bit later.
Image

Old/original leaf springs
The springs were coming unshackled and some of the bolts were permanently stuck. We saved the springs with which to make industrial furniture and sell to recoup the cost of Jeep parts.
Image

Once the rear springs were removed, we were able to drop the axle.
Image

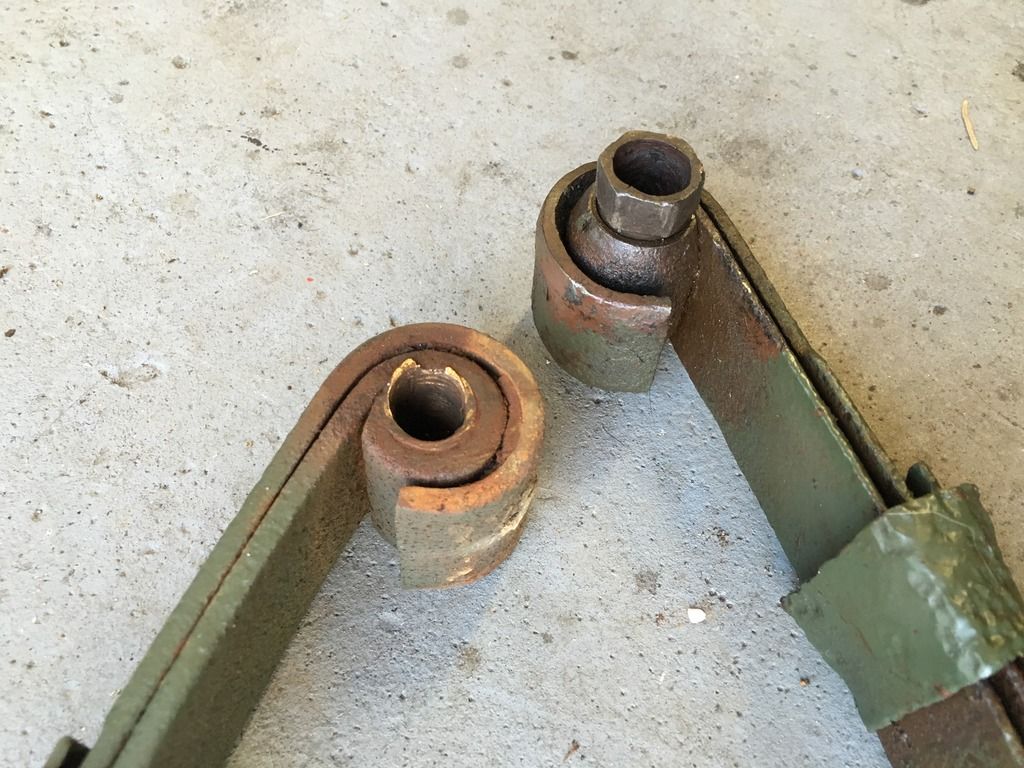
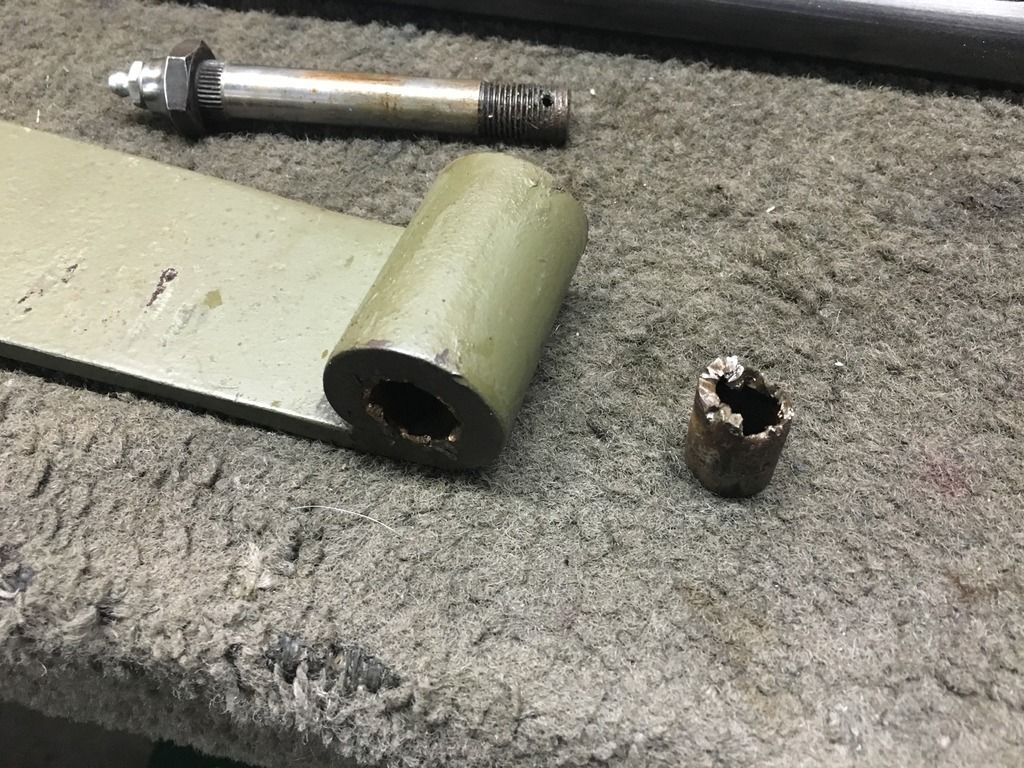
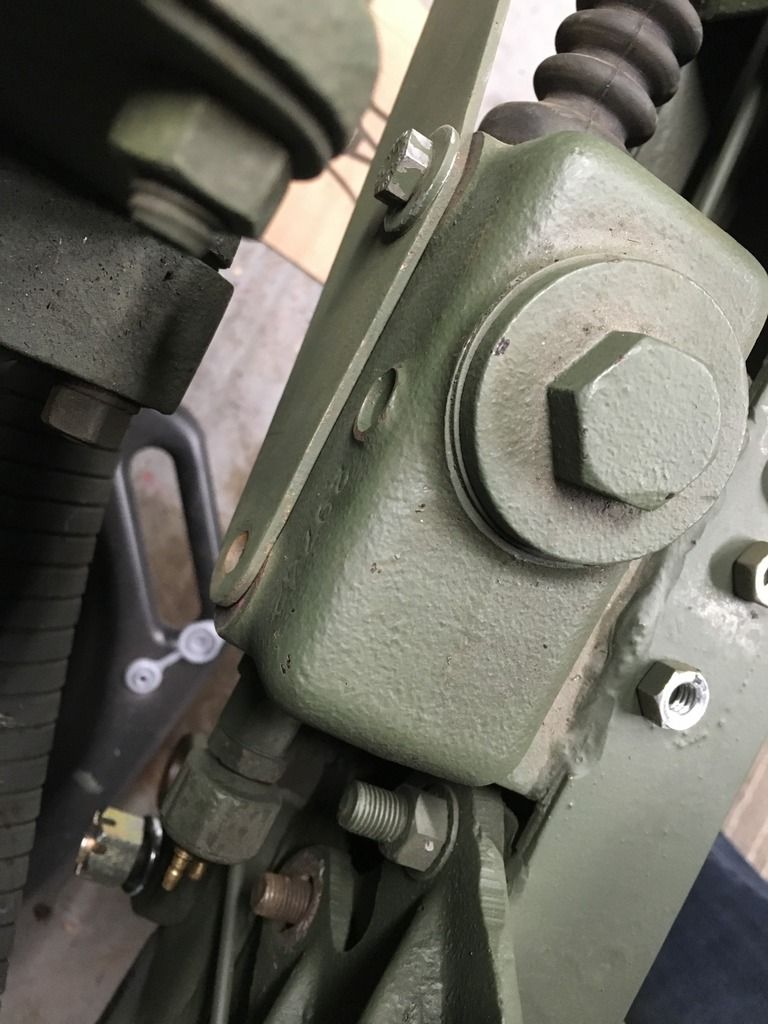
On the front springs, and torque reaction springs, we found a few workarounds from someone many many years ago. Having no idea (and no manual yet), a few confusing phone calls asking for a bolt that shouldn't exist finally led us to discovering someone had shoved a bushing inside the torque reaction spring to use a downsized bolt they had.
Image
Image

minkforce1
G-Sergeant
G-Sergeant
Posts: 37
Joined: Fri Mar 03, 2017 6:18 am
Location:

Re: 1943 MB (picture heavy)

Post by minkforce1 » Sat Mar 04, 2017 6:47 am

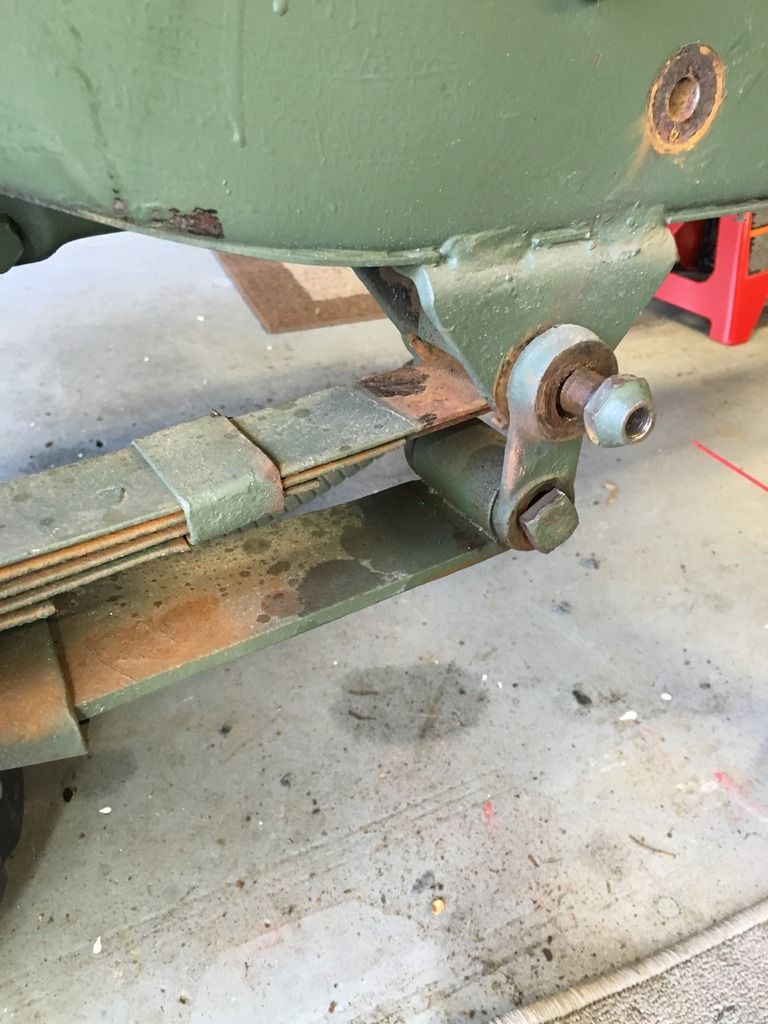
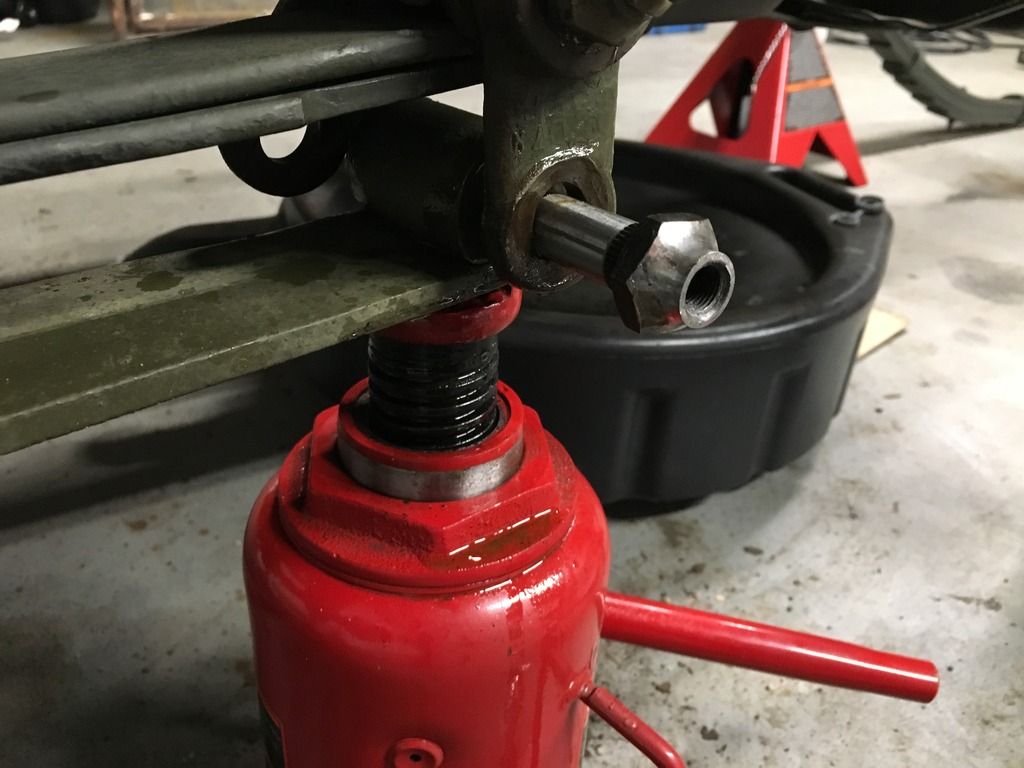
Saw a nifty trick on how to get springs put in using a small jack, so we re-installed the front axle and new springs. The rear perches were too far gone to use and had zero threading left in them, so we had to get the Jeep rolling again to the welding shop.
Image
Image

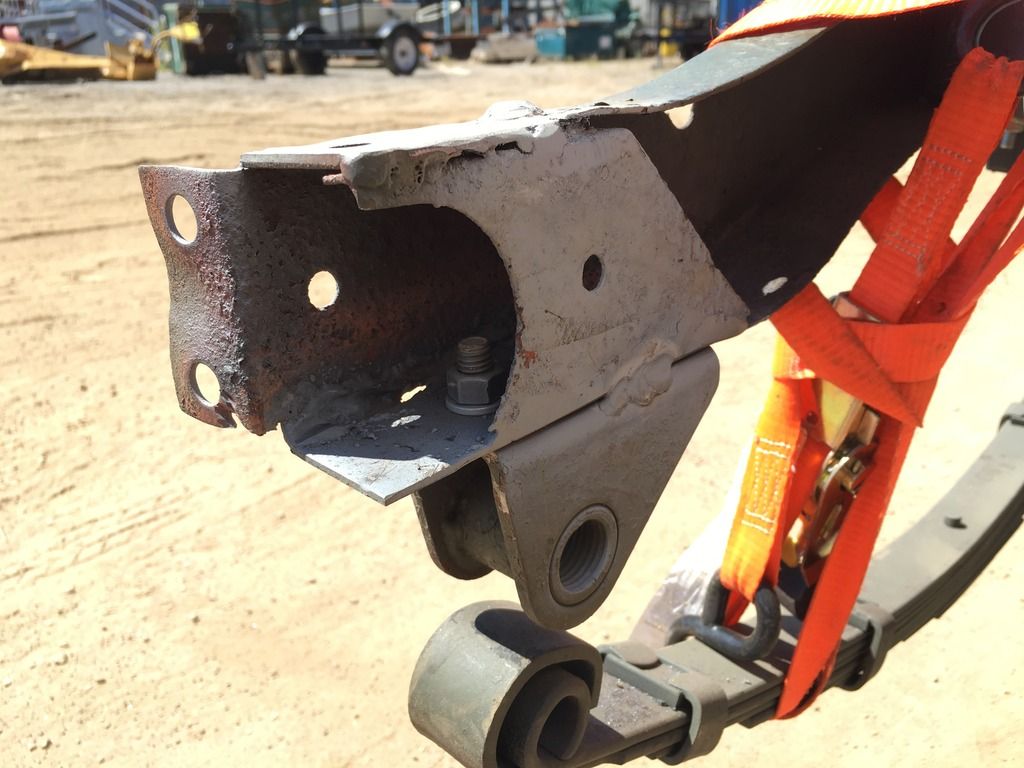
New perches welded on, along with a new A frame. This came back to haunt us, as I told the welder the most important thing was the location of the body mount holes. The A frame was welded short of the bumper, causing issues with the pintle mounting plate much later.
Image

minkforce1
G-Sergeant
G-Sergeant
Posts: 37
Joined: Fri Mar 03, 2017 6:18 am
Location:

Re: 1943 MB (picture heavy)

Post by minkforce1 » Sat Mar 04, 2017 6:51 am

During downtime between trips to the welder, we took care of lots of little bits for replacement.

New tie rods, paint and rehabbing the torque reaction spring, attempting to turn the engine with a wrench, and discovering the master brake cylinder was probably off of a CJ. The original cylinder to pedal tube bracket was too short, but my friend was able to extend and re-drill the hole to fit the new geometry. We could have replaced the cylinder with an original one, but it didn't seem prudent to waste new parts if we could quickly modify what we had to work without causing additional problems.
Image

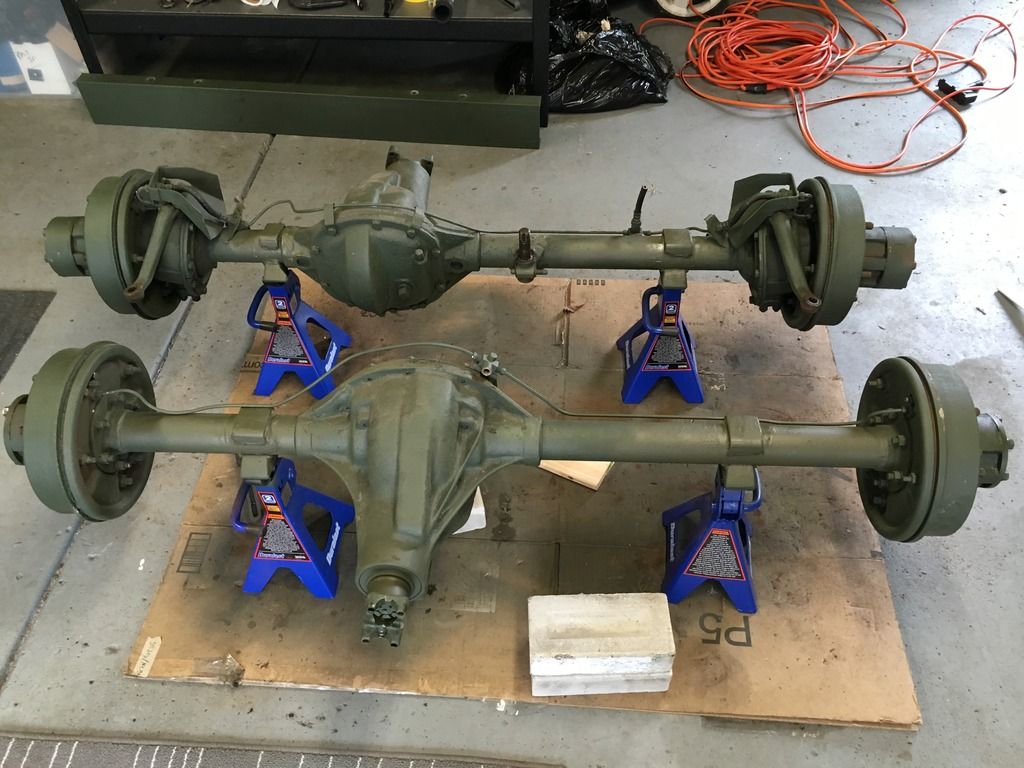
The axles had been removed for welding, inspected and deemed road worthy, so we slapped on some new paint and called it a day.
Image

minkforce1
G-Sergeant
G-Sergeant
Posts: 37
Joined: Fri Mar 03, 2017 6:18 am
Location:

Re: 1943 MB (picture heavy)

Post by minkforce1 » Sat Mar 04, 2017 6:55 am

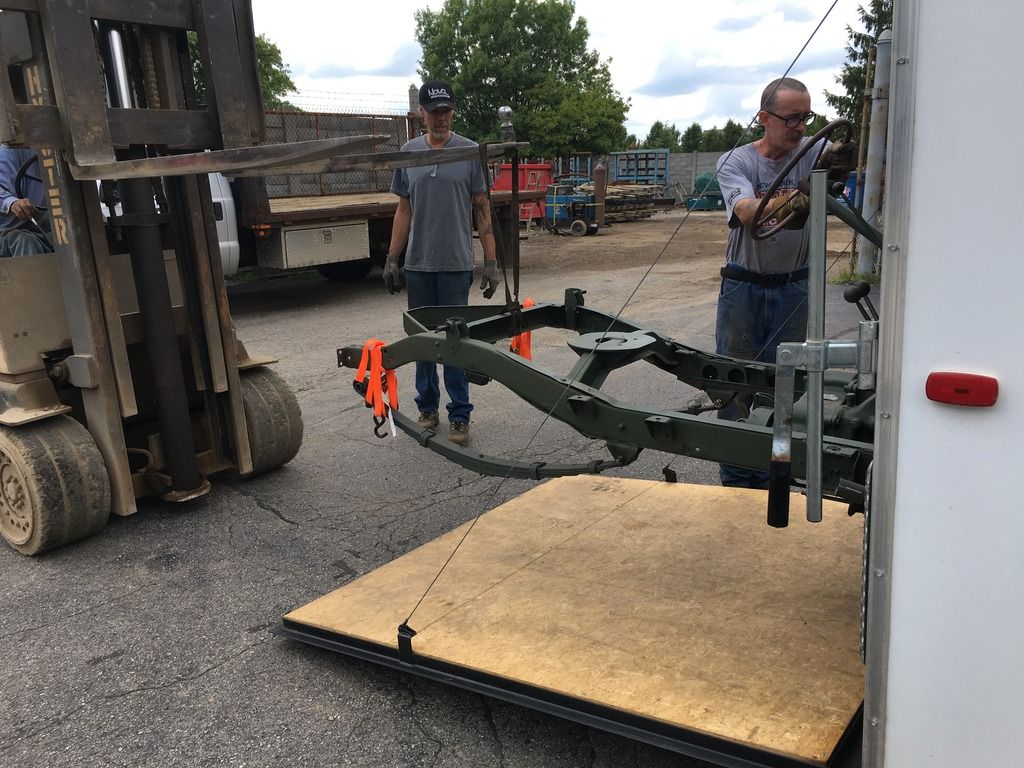
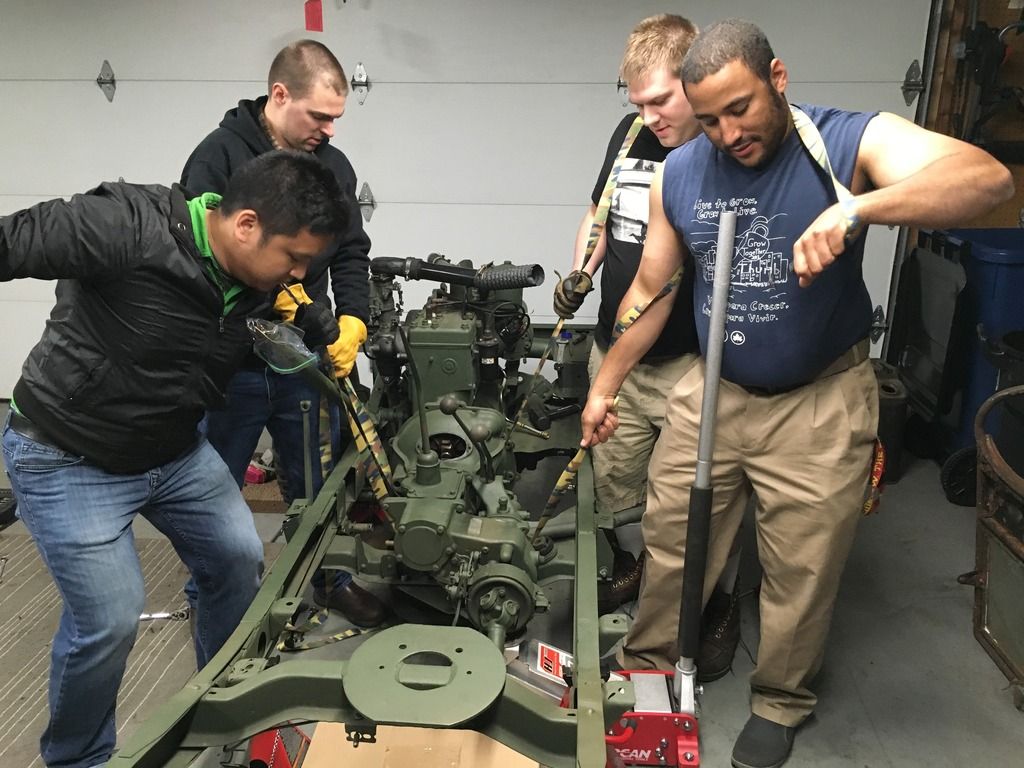
My Chief Mechanic was concerned about the clutch plate, so we brought in the muscle to lift the transmission out. I was recovering from a neck injury, so I retained my role as professional photographer.
Image
We ended up replacing the clutch plate, but the fork was still in good shape. After a few weeks of sitting around, we were able to get together again to re-install the transmission, and wonder if we had borked the timing yet.

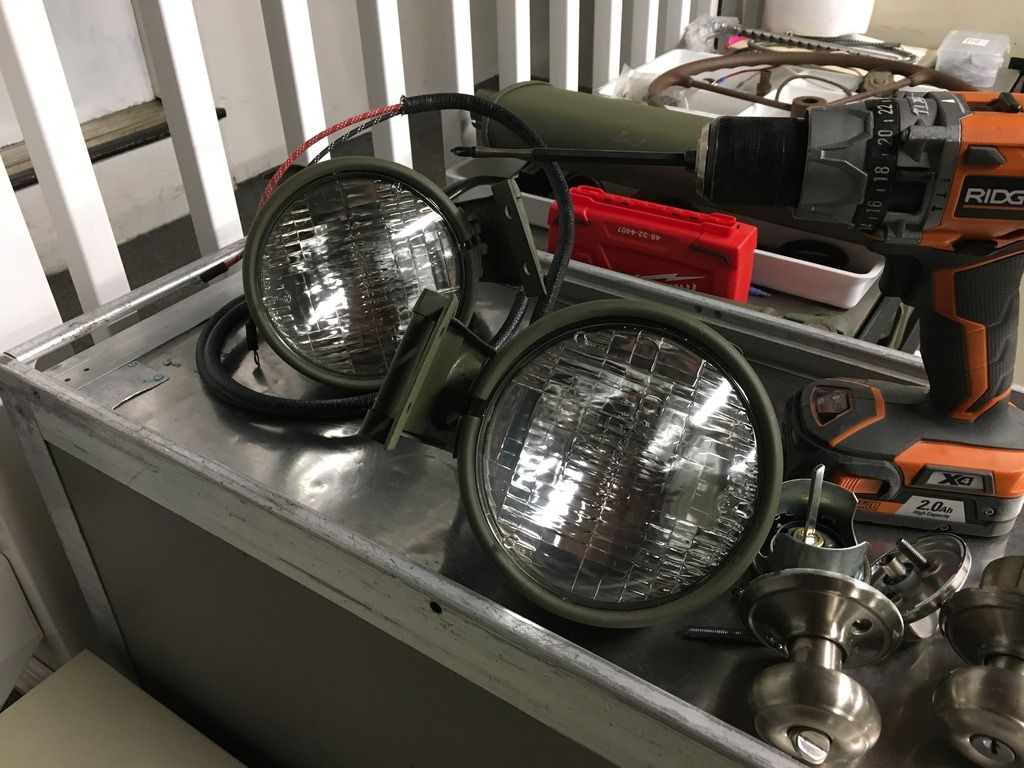
New headlight bulbs and wiring went in to the restored headlights
Image

minkforce1
G-Sergeant
G-Sergeant
Posts: 37
Joined: Fri Mar 03, 2017 6:18 am
Location:

Re: 1943 MB (picture heavy)

Post by minkforce1 » Sat Mar 04, 2017 7:06 am

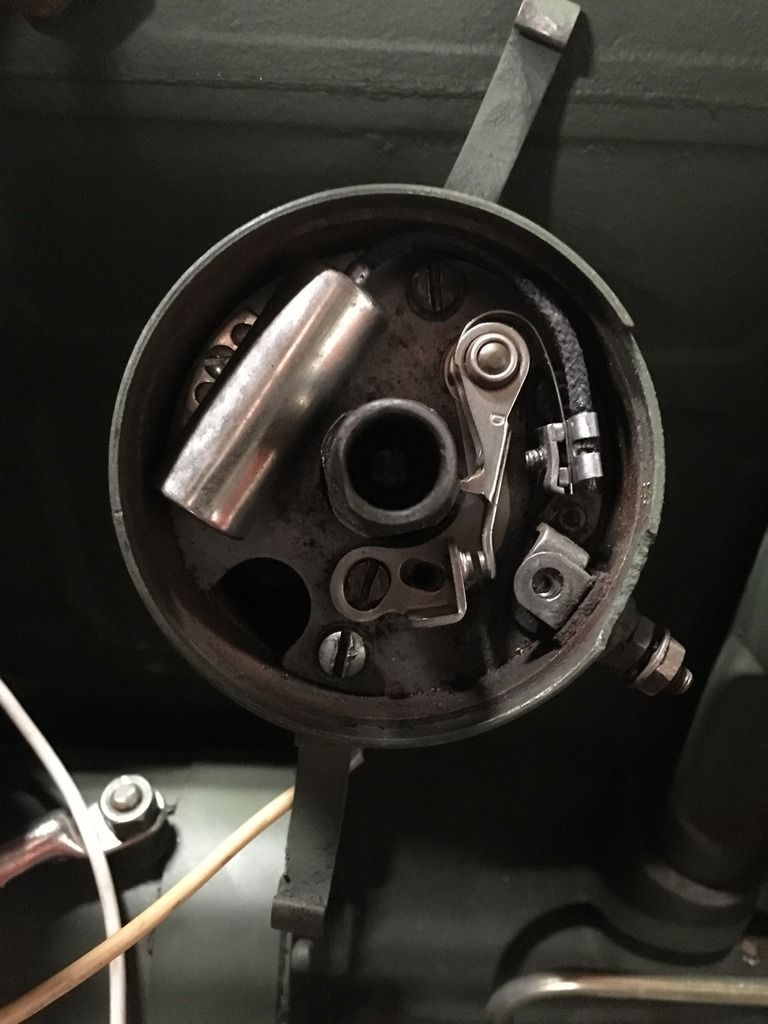
Then the mistakes and missteps happened. We had been assured the engine was running, and despite many of the PO's other claims being half truth or less, we took their word. Then we noticed coolant seeping from the side of the engine, right underneath the distributor shaft. Scraping off the paint revealed a copious amount of JB weld surrounding the whole area. Then while disassembling the distributor, we found the points were completely gone and the condensor was probably bad as well. We finally had the wiring kit in but still hadn't connected a battery to try the starter motor yet and check any of the electrical system. We had spent so much time on the frame itself that the engine had been largely untouched, and every time we removed a part, another came off with it that had to be replaced. New spark plugs, new wires, new air crossover tube, new air horn, rebuild the carburetor (twice), new thermostat and retainer, ignore the JB weld on the engine until we can get the whole thing filled up with coolant, I had a laundry list every day that didn't seem to get any shorter. I had no clue what points or a condensor were, and all of a sudden i found myself installing and setting them.
Image

Then it was back to the axles and discovering the lock washers and nuts inside the axles were completely chewed off by someone who used a chisel to tighten and remove them...repeatedly.

minkforce1
G-Sergeant
G-Sergeant
Posts: 37
Joined: Fri Mar 03, 2017 6:18 am
Location:

Re: 1943 MB (picture heavy)

Post by minkforce1 » Sat Mar 04, 2017 7:14 am

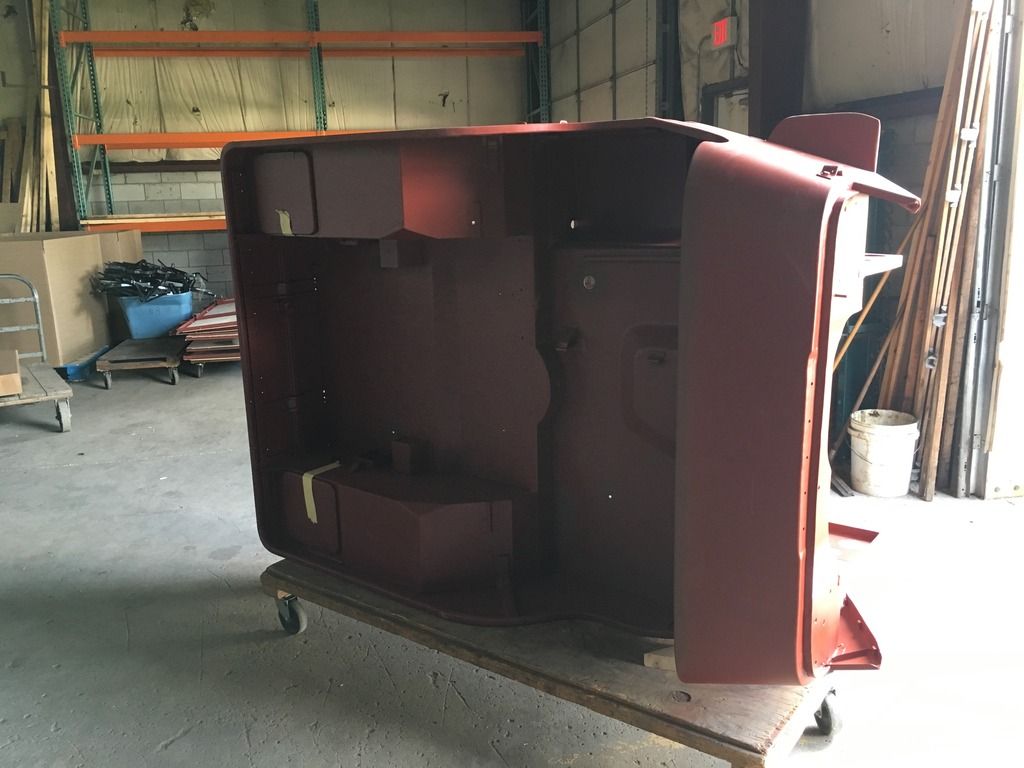
The body had been on order for months. I went with Willy's overland because even with the cost of the repli-tub added on, I could drive down and pick it up myself, saving a few hundred in freight costs. Not having to drag it to the welders to be patched, adjusted or fixed one step at a time was appealing as well. I think overall we came out ahead, and that some of the lingering problems were more due to the frame than anything done to the body to fix it.
Pick up date: September 3, 2016
Image

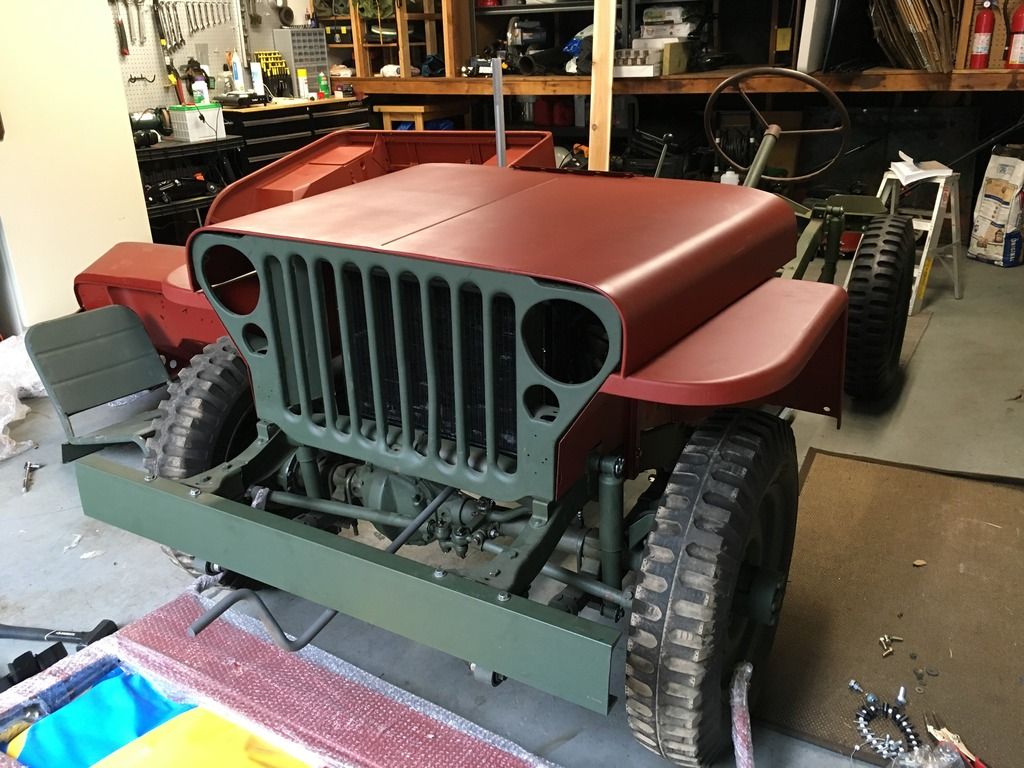
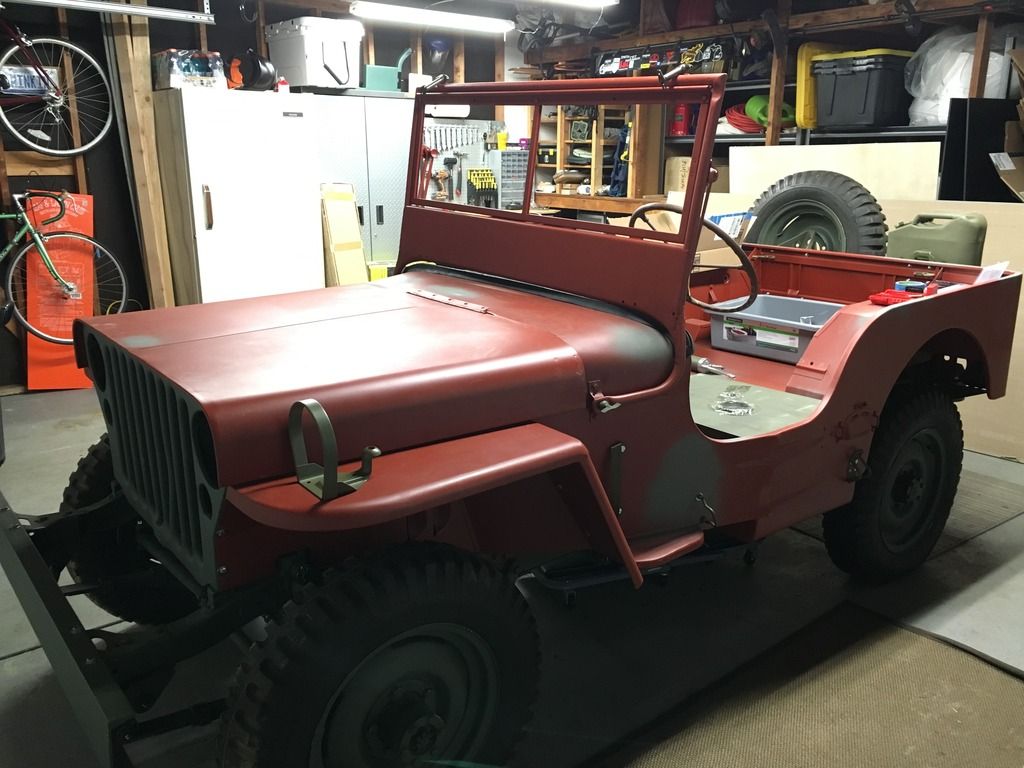
Installing the fenders and laying the hood on top of it gave us a false sense of hope that we were on the right track.
Image

It was nice that it was starting to look like a Jeep after all this time.

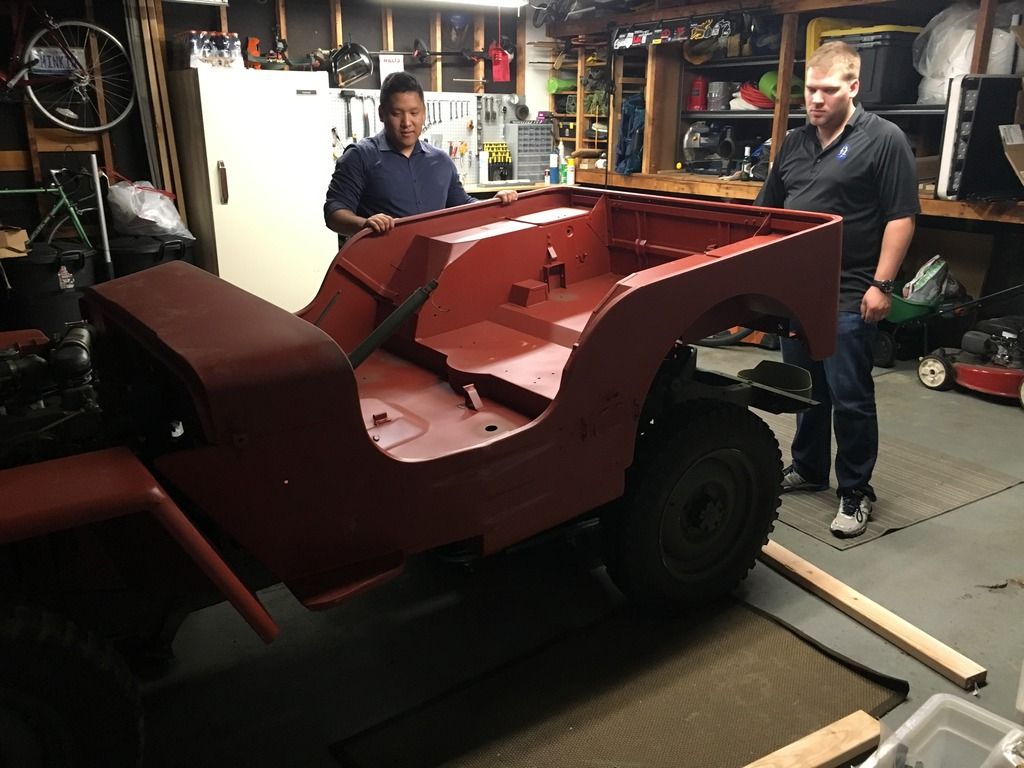
Fitting the body on behind the fenders was interesting to say the least. We started to get the idea that while it may be an 'antique' vehicle, you have to use a mallet to fit the body on properly sometimes.
Image

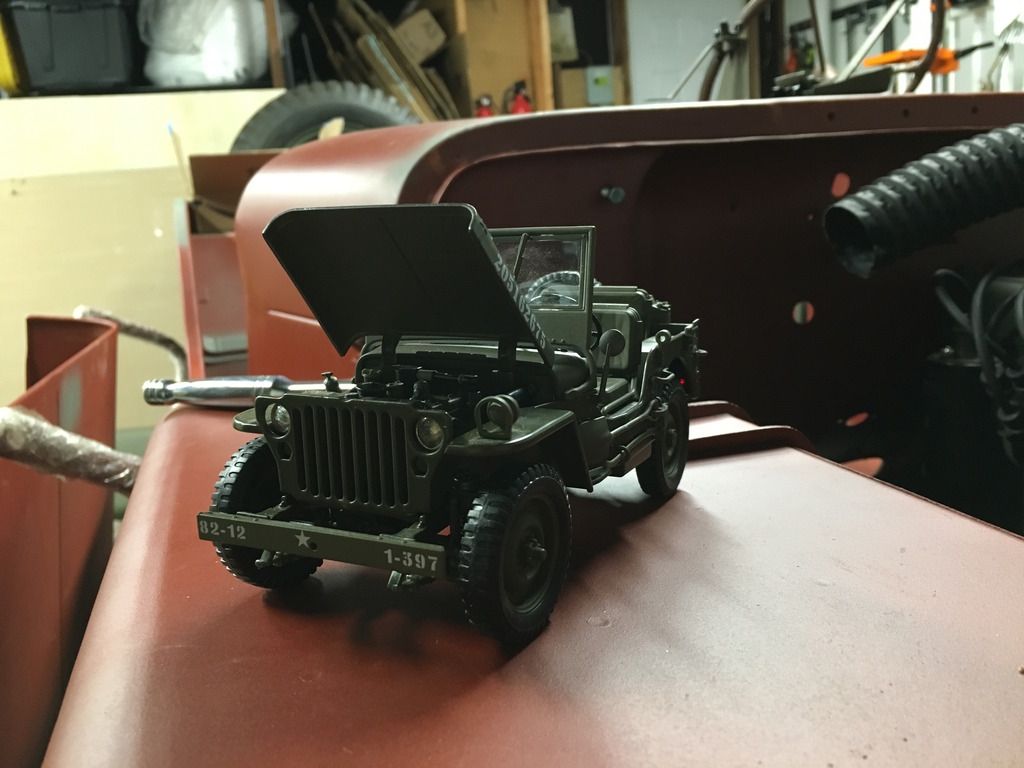
While another friend of ours owns an MB, his is in a significantly different configuration than mine, and being a '45, a lot of parts had changed as well. This scale model was oddly helpful in seeing how a few things were supposed to go on.
Image

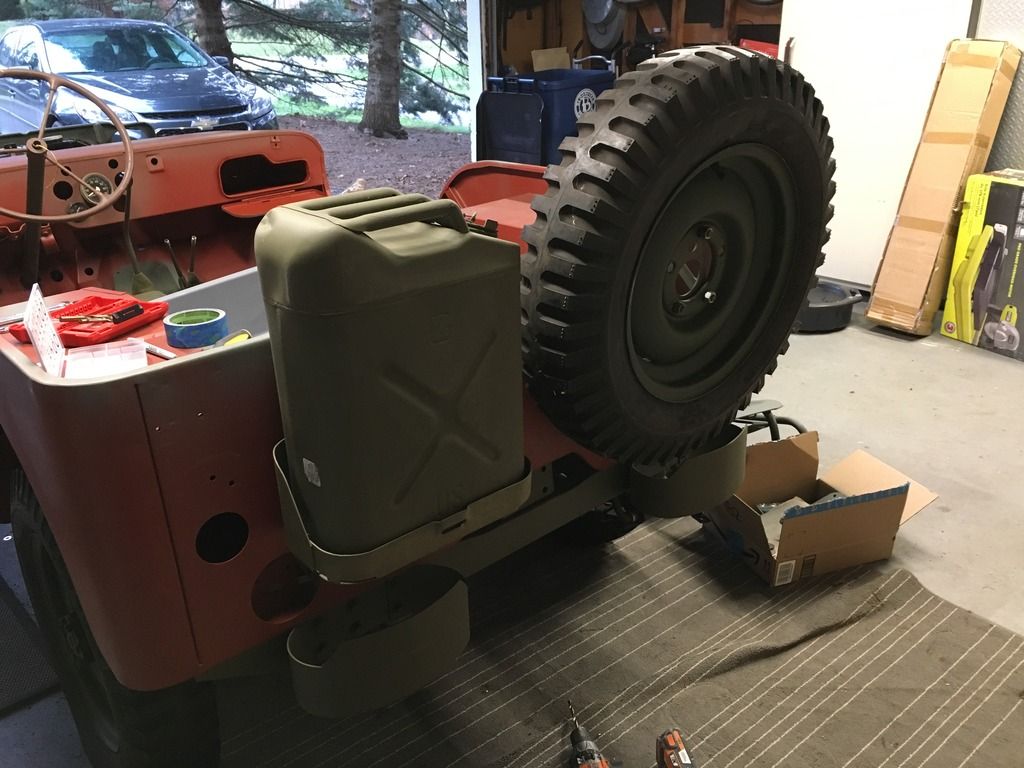
I started fitting on parts to the exterior while waiting on my Chief Mechanic to get back to me with his research on how to proceed with the engine. The jerry can is a mid-60's, but I believe the pattern is correct. I had a few of the gauges mocked up, though they were definitely all from a CJ, as was the air cleaner that we were working on converting to a dry filter.
Image

minkforce1
G-Sergeant
G-Sergeant
Posts: 37
Joined: Fri Mar 03, 2017 6:18 am
Location:

Re: 1943 MB (picture heavy)

Post by minkforce1 » Sat Mar 04, 2017 7:39 am

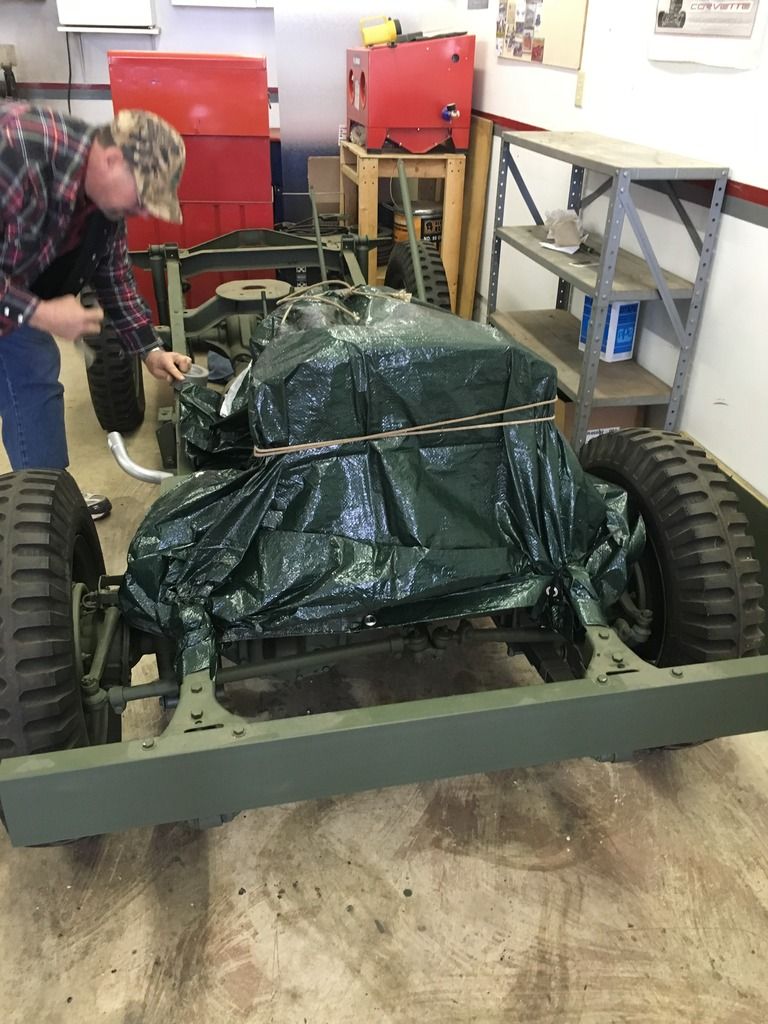
I felt almost surprised when the Jeep started to look like...a Jeep. It had been a frame for 6 months in my garage and while I feel we moved quickly overall, It was in short, sudden spurts of activity when I had enough people over to help, especially now with the body being fitted and requiring multiple moves to adjust the frame. The PO's had welded strapping on to the frame to reinforce it, and that buckled up causing the body to sit high and at an angle. We removed the body and pounded down the strapping flush with the frame.
Image

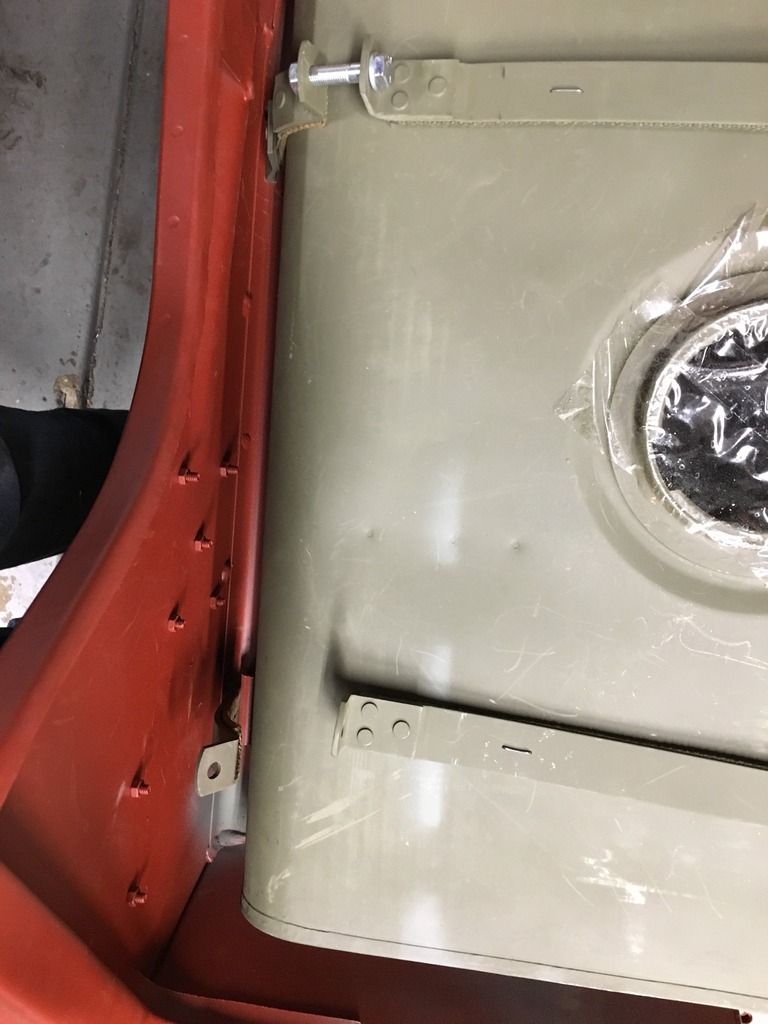
The fuel straps were also driving me crazy, and thats one thing I haven't fully solved without just going to a longer bolt. I can't figure out why the short connecting straps are different in length when the overall length between points seems the same on both front and back. I asked to see my friends finished '45 MB and he assured me I was doing something wrong since he had both straps on no problem, only to discover he had acquired a second long strap and used them both instead of shorts.
Image

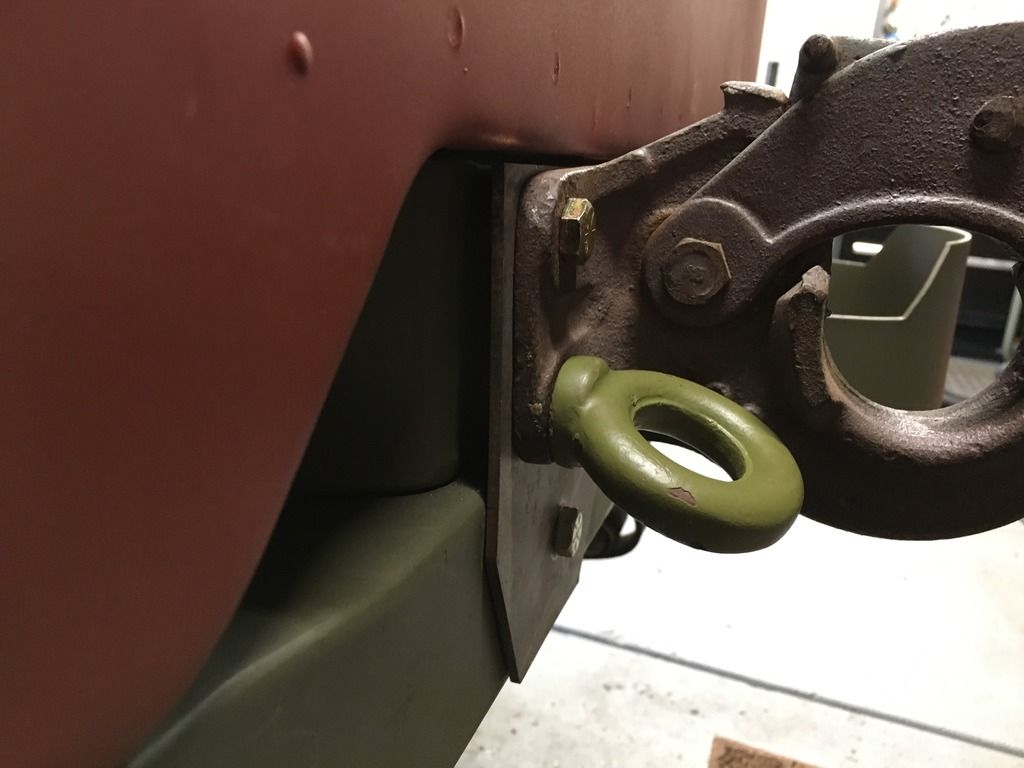
The pintle hook plate problem was mostly resolved with a nut to shim the distance properly. I know it would be flush against the A frame and bumper and then welded to reinforce (or at least thats what I've seen), but I don't want to hack up the A frame and extend it.
Image

minkforce1
G-Sergeant
G-Sergeant
Posts: 37
Joined: Fri Mar 03, 2017 6:18 am
Location:

Re: 1943 MB (picture heavy)

Post by minkforce1 » Sat Mar 04, 2017 7:58 am

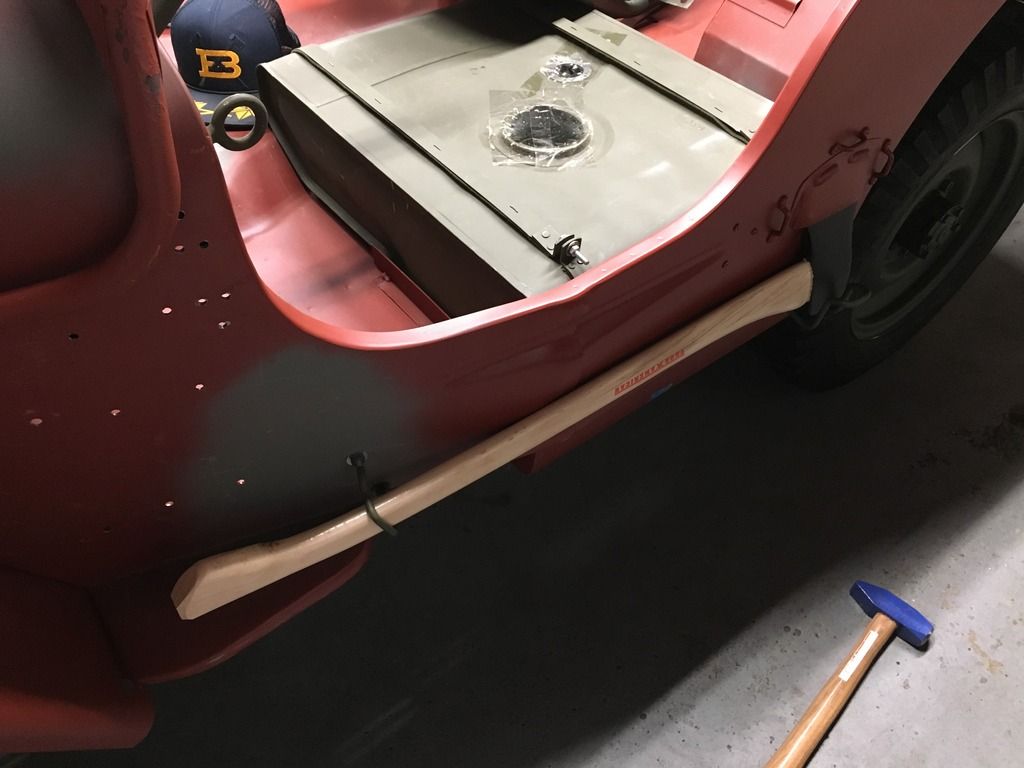
The axe was one of the other things driving me crazy. A replica axe purchased from Kaiser Willys before I knew not to do such things simply didn't want to fit. Another 'exact replica' that was an off the shelf hardware store axe also didn't fit. I had the handle end bracket adjusted out as far as possible, and I didn't want to weld on additional threads. An email to the second vendor asking if there was a trick to making it fit was met with a 'I've sold hundreds of these and you're the only idiot to have a problem'. Really warmed my heart to see the community helping out a younger generation start out in a new hobby.

The head bracket refused to close, and I literally had to hammer the axe head into the sheath.
Image

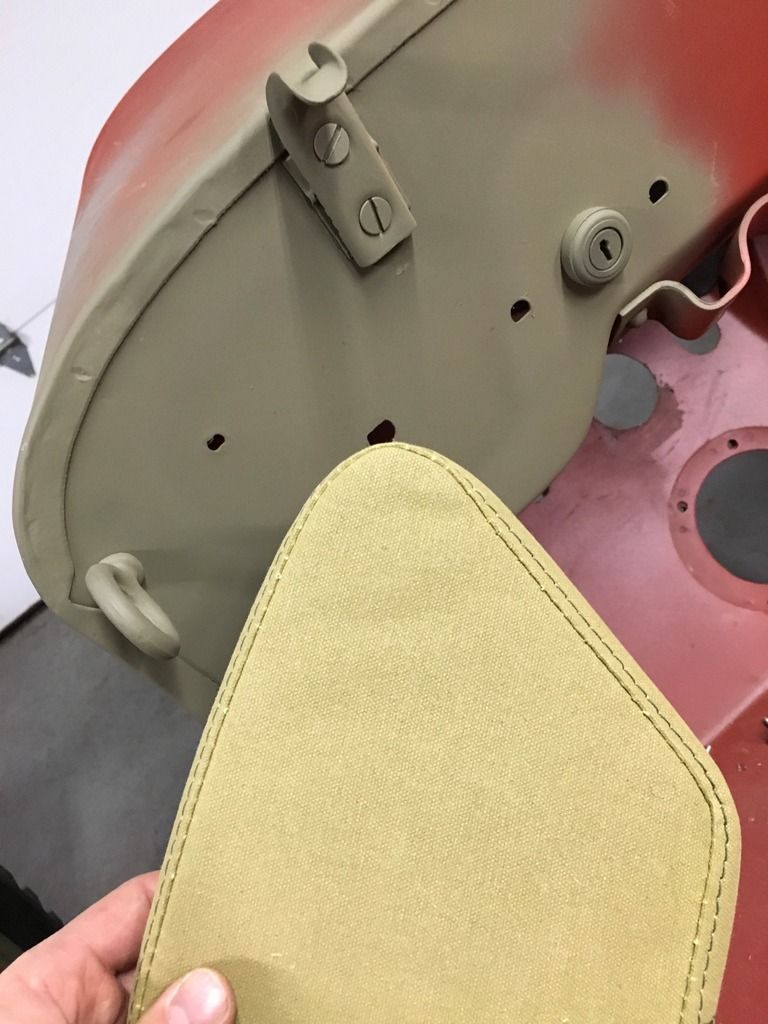
Finally, with the canvas ordered from Beachwood, I asked them to throw in an axe since they assured me the measurements matched an original I had gotten to see. It did indeed fit much better, with less flex, and able to be put into the sheath without having to use a hammer, though it's still incredibly tight.

Paint had also been ordered and returned because nobody locally would work with it, including a gentleman who had worked at GM for 40 years and had his own private spray booth in his workshop. He strongly advised me against trying to use it myself as well since it was the old stock lead based stuff. New paint from Pete is a much lighter shade than I had envisioned, but it certainly looks good enough for government work. Canvas was very light as well, but fit nicely on the frame.
Image

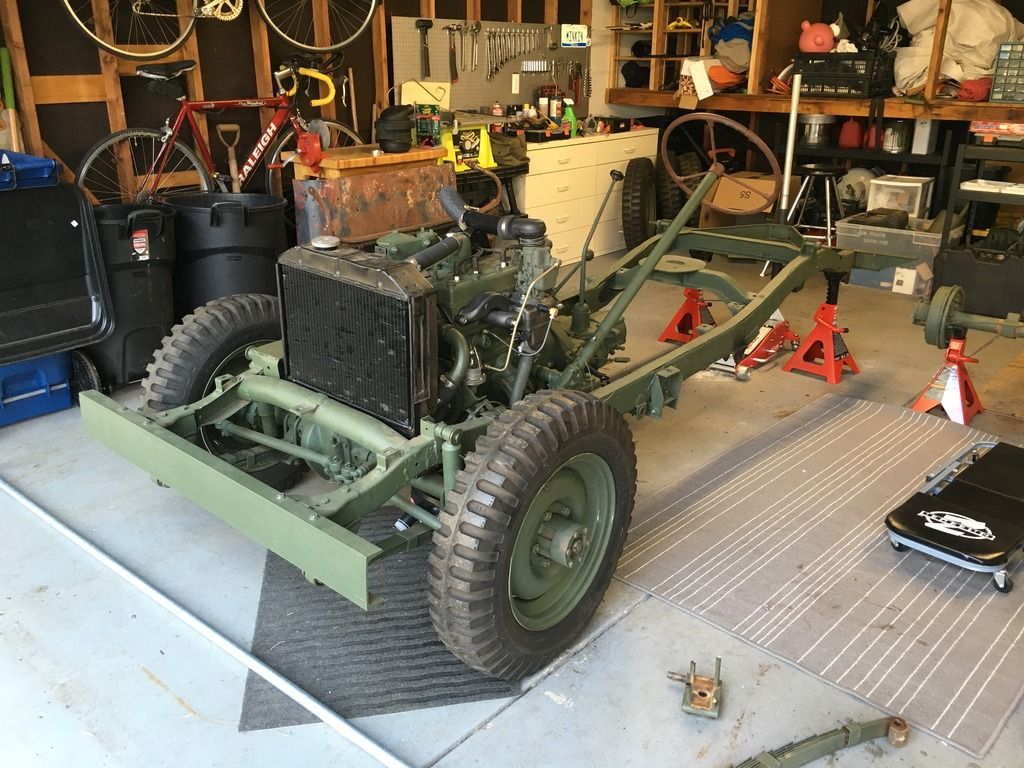
This is more or less where we are now, waiting on a few engine parts and repair, fitting canvas and drilling the remaining bracket holes while we wait on the weather to break. I wish I had documented more of the build, but it would be days of working on the same thing and then a sudden break through without stopping to take photos. Most of the photos I did take were of broken parts sent to my friend to ask if it should be repaired or replaced.

Estimated time to completion is just another 2-3 months.

GI.
Sergeant Major [E-9]
Posts: 900
Joined: Sun Feb 19, 2006 3:21 pm
Location: Marietta GA.

Re: 1943 MB (picture heavy)

Post by GI. » Sat Mar 04, 2017 2:35 pm

Minkforce1,
Thank's for posting all the pic's, look's like you have plenty of help from friend's, that can really speed things up, look's like your doing a great job, can't wait to see it when your done, thank's. :)
67 M-151A1

Beers
G-Colonel
G-Colonel
Posts: 1409
Joined: Sat Oct 22, 2011 7:41 pm
Location: Orinda, California

Re: 1943 MB (picture heavy)

Post by Beers » Sun Mar 05, 2017 5:58 am

Hey minkforce1, you're certainly in the home stretch. It's unfortunate that you have to spend as much time correcting Bubba's "restoration" as you do just rebuilding the jeep, but looks like you were able to get things put together. Thanks for posting all the photos.

What's the serial # of your MB? Did it come with the data plate or just the frame tag?

Paul
1943 MB 213301 DOD 2-22-43

minkforce1
G-Sergeant
G-Sergeant
Posts: 37
Joined: Fri Mar 03, 2017 6:18 am
Location:

Re: 1943 MB (picture heavy)

Post by minkforce1 » Sun Mar 05, 2017 6:28 am

Beers wrote:Hey minkforce1, you're certainly in the home stretch. It's unfortunate that you have to spend as much time correcting Bubba's "restoration" as you do just rebuilding the jeep, but looks like you were able to get things put together. Thanks for posting all the photos.

What's the serial # of your MB? Did it come with the data plate or just the frame tag?

Paul
Yeah, not knowing what was standard or bubba'd up on the Jeep slowed us down a little bit. I'd be calling for parts and asking for something that wasn't supposed to be in there before I could get a decent manual and see the teardown. The Jeep fortunately came with the original data plates and frame tag, its serial is 220904.

Beers
G-Colonel
G-Colonel
Posts: 1409
Joined: Sat Oct 22, 2011 7:41 pm
Location: Orinda, California

Re: 1943 MB (picture heavy)

Post by Beers » Mon Mar 06, 2017 5:52 am

Great to hear on the plates, so many guys just have to estimate DoD. Like you said, it has a post war head, but what's the casting # on the block? and serial #?
1943 MB 213301 DOD 2-22-43

minkforce1
G-Sergeant
G-Sergeant
Posts: 37
Joined: Fri Mar 03, 2017 6:18 am
Location:

Re: 1943 MB (picture heavy)

Post by minkforce1 » Tue Mar 07, 2017 6:13 pm

Beers wrote:Great to hear on the plates, so many guys just have to estimate DoD. Like you said, it has a post war head, but what's the casting # on the block? and serial #?
serial on the block is 418787, is there a different serial besides the 220904 number?


Post Reply

Return to “MB GPW Restoration Projects”

Who is online

Users browsing this forum: No registered users and 38 guests